How to Turn an Activewear Sketch into a Production-Ready Sample: 8-Step Development Process
Sending an activewear sketch to a manufacturer does not mean the next step is immediately cutting fabric and sewing a sample. A sketch shows the design idea, but the factory still needs enough technical information to turn that idea into a garment that can be measured, fitted, revised and eventually reproduced in bulk.
The development process connects design intent with fabric, pattern, fit, construction, branding and production requirements. The clearer those decisions become during sampling, the less room there is for interpretation later.
A sketch becomes a production-ready activewear sample through specification clarification, material sourcing, pattern development, prototype sampling, fit review, revision, branding and construction approval, and a final pre-production standard.
A simple sketch can be enough to start a development conversation, but it normally does not contain all the information required to reproduce the product consistently in bulk.
Before bulk production, the final approved version should be connected to the current measurement specification, fabric, color, trims, artwork, labels, construction and sample revision.
1. A Sketch and a Tech Pack Do Different Jobs
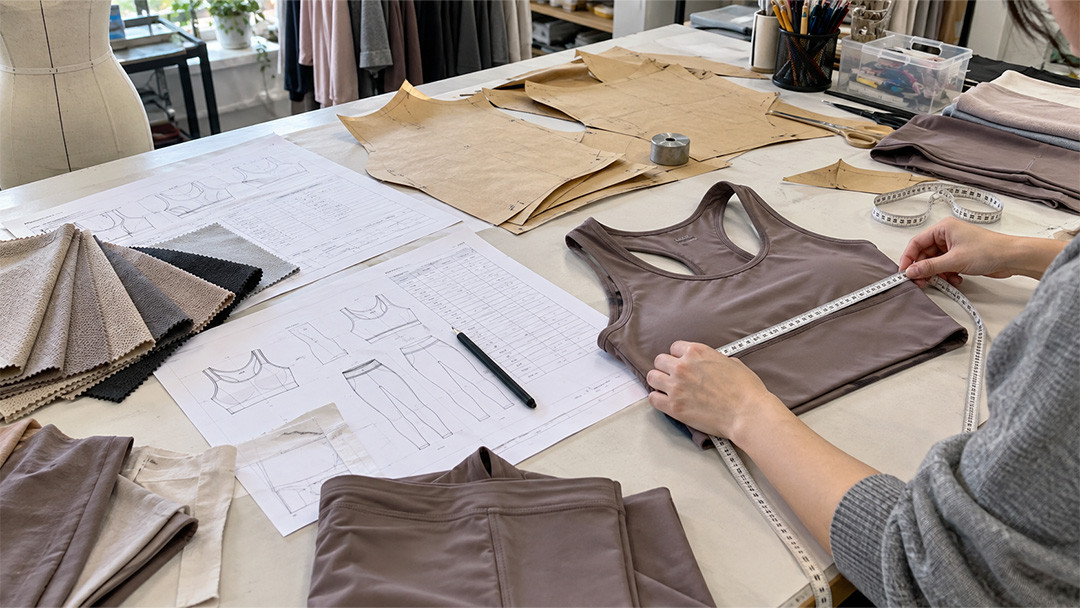
One of the first questions new brands ask is whether they need a complete tech pack before contacting a manufacturer.
Not always.
A sketch, reference photo or physical garment can be enough to begin discussing a product. But it is important to understand what each document communicates.
A sketch usually does not tell the factory everything it needs to know about:
- Fabric composition
- Fabric weight or GSM
- Stretch and recovery
- Finished measurements
- Negative ease
- Seam construction
- Logo dimensions
- Trims
- Color standards
- Labels
- Packaging
If you already have a detailed tech pack, the development process can begin with more information locked. If you only have a sketch, the factory or product-development team needs to help clarify the missing decisions.
For a deeper breakdown of what belongs in a production-ready technical file, see our activewear tech pack checklist .
2. What Information Does a Manufacturer Need Before Sampling?
Before making the first pattern, the development team should understand what kind of product the brand is actually trying to build.
Product Questions
- Is it a legging, sports bra, training short, tennis dress, top or another product?
- What is the intended activity?
- What kind of fit is required?
- What size range is planned?
- Does the garment need pockets, cups, lining, zippers or elastic?
Material Questions
- What hand feel is expected?
- Is nylon-spandex, polyester-spandex or another material preferred?
- What level of stretch and recovery is required?
- Is compression positioning important?
- Is opacity important?
- Is a target GSM available?
Commercial Questions
- What is the expected quantity?
- How many colors are planned?
- What is the target retail market?
- What is the target product positioning?
- When does the brand intend to launch?
3. The 8-Step Sketch-to-Sample Development Process
4. Step 1 — Clarify the Design Before Making a Pattern
A factory should not guess what an unclear drawing means if that decision will affect fit or production.
Suppose a sketch shows a high-waisted legging with a curved waistband and side pocket. Before pattern development, the team may still need to know:
- How high should the waistband sit?
- Is there internal elastic?
- What phone size should the pocket hold?
- Is the pocket integrated into a side panel?
- Should the front have a seam?
- What inseam length is required?
- How close should the garment fit?
These questions are not unnecessary factory bureaucracy. They turn an image into specifications that can actually be patterned and measured.
5. Step 2 — Develop the Fabric and Trims Together with the Product
Fabric selection should not be treated as a decoration step after the pattern is finished.
Activewear fabric affects:
- Stretch
- Recovery
- Negative ease
- Compression feel
- Opacity
- Drape
- Garment measurements
- Seam behavior
For that reason, the pattern and material should be developed as one system.
Trims also matter earlier than many first-time buyers expect. Sports bras may require cups, elastic and lining. Shorts may require drawcords, pockets or zippers. A late trim change can alter both construction and fit.
6. Step 3 — Turn the Specifications into a Pattern
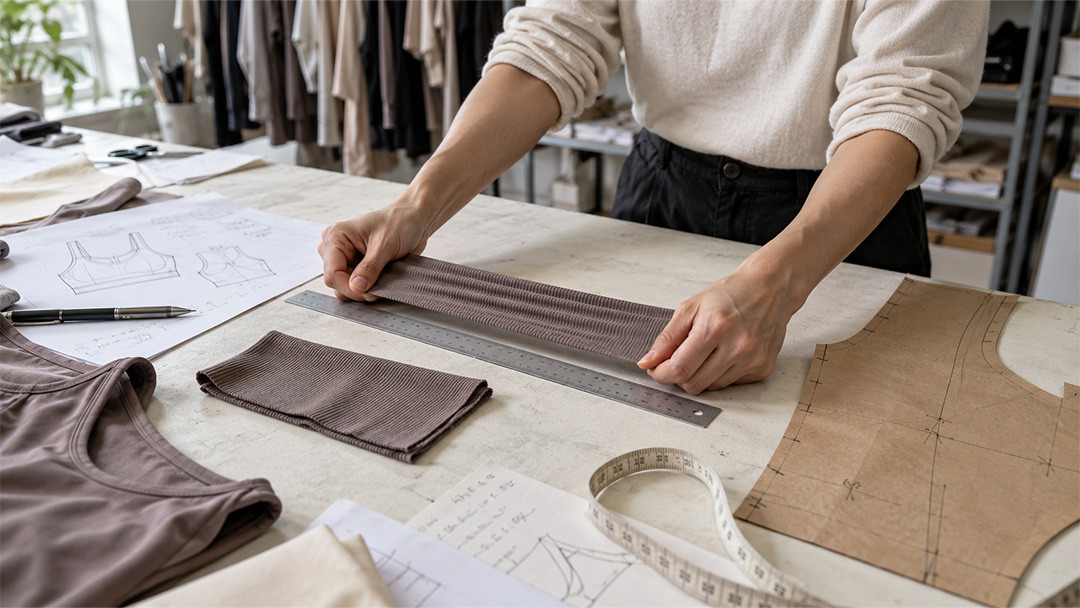
The pattern is where the two-dimensional design begins to become a three-dimensional garment.
For a cut-and-sew activewear product, pattern development may consider:
- Target body measurements
- Finished garment measurements
- Fabric stretch
- Negative ease
- Seam placement
- Gusset geometry
- Waistband construction
- Pocket dimensions
- Coverage
- Intended activity
A clean-looking sketch can still require several technical pattern decisions that are invisible in the illustration.
7. Step 4 — The First Prototype Is a Development Tool
The first prototype is where assumptions become visible.
This is the moment to ask:
- Does the silhouette match the design?
- Is the fabric suitable?
- Are proportions correct?
- Does the garment sit in the intended position?
- Can the wearer move comfortably?
- Are pockets and functional details usable?
- Do seams sit in the right place?
Some styles may be close on the first sample. Others may reveal problems that require another pattern or material revision.
The number of sample rounds should therefore reflect the product—not an arbitrary promise that every style requires exactly the same number of revisions.
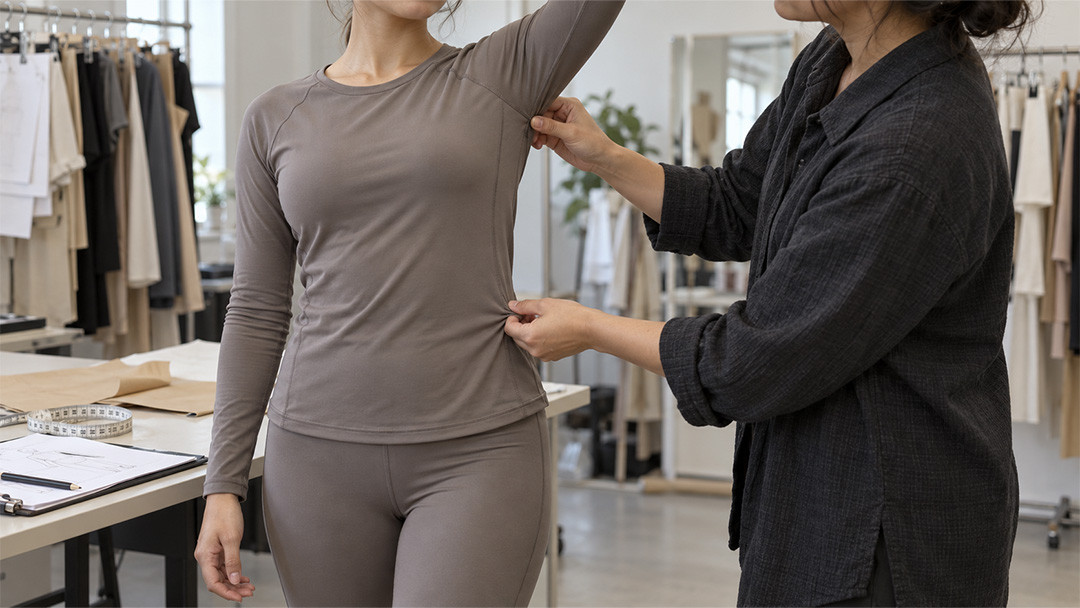
8. Step 5 — Fit the Sample on the Body, Not Only on the Table
Garment measurements are important, but activewear must also be evaluated during wear.
For example, a legging may measure correctly while still showing:
- Waistband rolling
- Incorrect rise
- Crotch tension
- Restricted squat movement
- Excessive compression
- Opacity problems
A sports bra may meet its measurement specification but still need corrections to:
- Underband fit
- Side coverage
- Strap position
- Neckline
- Support structure
For a detailed bulk-release review, see our activewear fit sample approval checklist once the article is published.
9. Step 6 — Write Revision Comments That Can Be Executed
Sample development becomes slow when comments are subjective or difficult to interpret.
Shorts are too loose.
Logo needs improvement.
Good revision comments identify:
- The exact problem
- The garment area
- The required change
- The controlling measurement or file
- Whether another sample is required
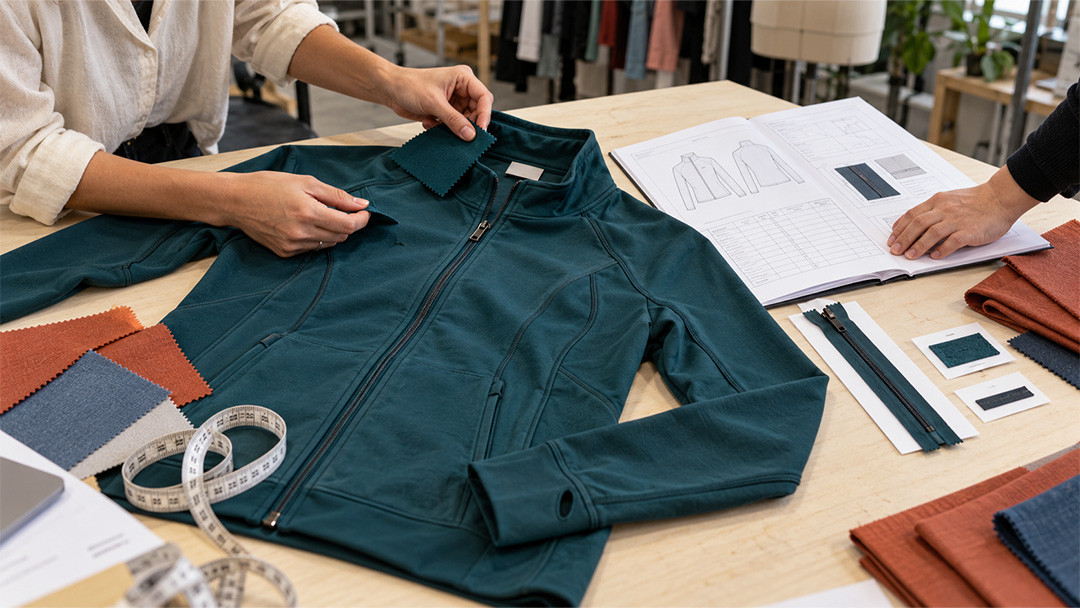
10. Step 7 — Lock Color, Branding, Labels and Construction
Once the fit direction is stable, the development team also needs to close the product details that make the sample representative of the intended bulk order.
Color
Connect the product with the approved Pantone, lab dip, fabric swatch or other agreed physical standard.
Logo
Record the actual artwork revision, technique, dimensions and position.
Labels
Confirm main labels, size labels, care labels and their locations according to the approved specification and target market requirements.
Trims
Confirm zippers, drawcords, cups, elastic, hardware, lining and other components.
Construction
Confirm seams, hems, gussets, pockets, internal layers and other build details against the current tech pack or approved sample.
11. Step 8 — What Is the Pre-Production Sample For?
Once the main development issues are closed, the brand may use a pre-production sample, commonly called a PPS, as part of the final approval workflow before bulk manufacturing.
The exact definition varies by buyer, but a PPS should normally represent the intended bulk-production standard as closely as required by the approval process.
Relevant items may include:
- Approved production-intent fabric
- Approved color
- Final pattern
- Current measurements
- Approved construction
- Final logo artwork
- Labels
- Trims
For brands looking for sampling support rather than only process information, see our activewear sample making and prototyping service .
12. What Files Should Be Locked Before Bulk Production?
The final approved physical sample should not exist separately from the digital production files.
A practical bulk-release package may include:
| File / Reference | What should be locked | Why it matters |
|---|---|---|
| Tech Pack | Current approved revision | Controls garment construction and technical instructions |
| Measurement Spec | Approved POMs and tolerances | Controls finished garment dimensions |
| Pattern | Final approved pattern revision | Controls garment shape and fit |
| Fabric | Production fabric code and specification | Controls material performance and fit behavior |
| BOM | Final trims and components | Prevents substitute components from entering bulk unnoticed |
| Color Standard | Approved physical reference / lab dip where applicable | Controls production color |
| Artwork | Final logo / print / embroidery file | Controls branding size, appearance and placement |
| Labels | Approved artwork and placement | Controls branding and product information |
| Approved Sample | Exact sample revision | Provides the physical production reference |
| Approval Record | Authorized bulk-release decision | Makes the final decision traceable |
13. What Makes Sample Development Faster—or Slower?
Sampling time should not be treated as one fixed number for every product.
A simple legging made from an available stock fabric is a different development project from a sports bra that requires custom fabric color, molded cups, specialty elastic, printing and multiple fit corrections.
Factors That Can Extend Development
- Custom fabric development
- Custom dyeing
- Special trims
- Complex patterns
- Multiple materials
- Printing or embroidery
- Repeated fit corrections
- Incomplete specifications
- Changing design direction between revisions
- Current sample-room capacity
What Usually Makes Development More Efficient?
- Clear front and back views
- Defined target fit
- Reference measurements
- Clear material direction
- Actual logo artwork
- Fast and specific sample feedback
- One clear decision maker
- Revision control
14. Common Sketch-to-Sample Development Mistakes
| Mistake | Why it creates problems | Better approach |
|---|---|---|
| Sending only one front image | The factory has to guess the back and construction. | Provide front, back and important detail references. |
| Using vague fabric words such as “premium” or “soft” | These terms do not define technical material behavior. | Provide composition, GSM, hand-feel reference or actual sample where possible. |
| Changing fabric after fit approval | Stretch and recovery changes can alter fit. | Recheck affected fit requirements after a significant material change. |
| Giving feedback only through scattered chat messages | Comments can become incomplete or contradictory. | Use one revision document tied to the sample version. |
| Approving “something similar” | The production team does not know which details are final. | Identify the exact approved sample and files. |
| Skipping wearer fit review | A garment can measure correctly and still fit poorly. | Combine measurements with fit and movement review. |
| Assuming the first prototype is a PPS | Development details may still be unresolved. | Separate prototype, fit and final production approval stages. |
15. What Should You Send a Manufacturer?
Minimum Useful Starting Package
- Product sketch or reference image
- Front and back view where possible
- Product category
- Target fit
- Target size range
- Fabric preference or physical reference
- Key functional requirements
- Logo artwork
- Required colorways
- Expected order quantity
- Target market
- Target launch timing
If Available, Also Send
- Tech pack
- Measurement chart
- Existing physical sample
- Pantone or fabric color reference
- Fabric specification
- BOM
- Packaging requirement
Frequently Asked Questions
Can I send an activewear manufacturer only a sketch?
Yes, a sketch or reference can be enough to start a development conversation. However, the manufacturer will usually need additional information about fit, fabric, measurements, construction, branding, colors and quantity before the product can become a production-ready sample.
Do I need a tech pack before making an activewear sample?
A complete tech pack is not always required to start development, especially if the manufacturer provides design and technical support. However, the missing specifications still need to be clarified and documented during development so the final product can be reproduced consistently.
What is the difference between a prototype and a fit sample?
A prototype is an early physical version used to evaluate whether the design and construction work. A fit sample focuses more specifically on garment measurements, body fit, proportion and movement. The terminology can vary between companies, so the purpose of each sample should be clearly defined.
How many sample revisions are normal?
There is no universal number. A simple style with a complete specification may require fewer revisions, while a complex product, new fabric or major fit issue may require additional rounds. The goal is to close the required development issues rather than target a fixed number of samples.
Why can the same pattern fit differently in another fabric?
Stretch, recovery, thickness, construction and finishing change how fabric behaves on the body. A significant material change can therefore alter negative ease, compression, coverage and overall garment fit.
What is a PPS in activewear manufacturing?
PPS commonly means pre-production sample. It is used as part of the approval process before bulk manufacturing and should represent the intended production standard as closely as required by the buyer's workflow.
When is an activewear sample ready for bulk production?
The style is ready for bulk release when the required fit, measurements, fabric, construction, colors, trims, branding and other critical specifications have been approved and the exact controlling sample and file revisions are identified.
What happens if I change the fabric after approving the fit sample?
The affected fit and performance requirements should be reviewed again. A different fabric can change stretch, recovery, compression, opacity and garment measurements even when the pattern itself has not changed.
Final Recommendation
You do not need to arrive at a manufacturer with every technical decision already solved.
But by the time the style is released for bulk production, the important decisions should no longer live only in a sketch, a chat history or someone's memory.
The design should be converted into measurable specifications. The material should be identified. The pattern should be fitted. Revisions should be closed. Branding and construction should be approved. The final sample should be tied to the current production files.
That is the real difference between having a good product idea and having a product that a factory can reproduce consistently.
Have an Activewear Sketch or Product Idea?
Send us your sketch, reference images, existing sample or tech pack together with your fabric direction, size range, branding requirements and planned quantity. Our product-development team can review what is already defined, identify what is still missing and discuss the appropriate next step before sampling.
Discuss Your Activewear Development